2025. 2. 28. 21:42ㆍC#,WPF
WPF를 활용하여 도형을 그리는 애플리케이션을 작성하겠습니다.
이 애플리케이션은 Visual Studio 2022와 .NET Framework 4.8.1 환경에서 작성되었습니다. 또한 작업의 편의를 위해 CommunityToolkit.MVVM(8.2.2)과 Microsoft.Xaml.Behaviors.Wpf(1.1.77) 등의 패키지를 설치하였습니다.
먼저 Behaviors 네임스페이스를 추가합니다. 그리고 Window의 위치와 크기를 조정하고 도형이 그려질 Canvas를 설정합니다.
<Window x:Class="DrawingShapesWPF.MainWindow"
        xmlns="http://schemas.microsoft.com/winfx/2006/xaml/presentation"
        xmlns:x="http://schemas.microsoft.com/winfx/2006/xaml"
        xmlns:d="http://schemas.microsoft.com/expression/blend/2008"
        xmlns:mc="http://schemas.openxmlformats.org/markup-compatibility/2006"
        xmlns:i="http://schemas.microsoft.com/xaml/behaviors"
        xmlns:local="clr-namespace:DrawingShapesWPF"
        mc:Ignorable="d"
        Left="10" Top="10"
        Title="MainWindow" Width="1500" Height="1000">
    <Canvas x:Name="cnvDrawing"
            Background="Transparent">
    </Canvas>
</Window>
Canvas의 Background를 Transparent로 설정하지 않으면 마우스 이벤트를 받아들이지 못하는 현상이 발생하여 설정해 주었습니다.
다음은 MVVM 패턴 유지를 위해 CommunityToolkit과 Behaviors를 이용하여 Canvas 위 마우스 이벤트에 커맨드를 바인딩하겠습니다. 먼저 ViewModel을 살펴보겠습니다.
using CommunityToolkit.Mvvm.ComponentModel;
using CommunityToolkit.Mvvm.Input;
using System.Windows.Input;
using System.Diagnostics;
namespace DrawingShapesWPF
{
internal class ViewModel : ObservableObject
{
private RelayCommand<MouseButtonEventArgs> _mouseLeftButtonDownCommand;
public RelayCommand<MouseButtonEventArgs> MouseLeftButtonDownCommand
{
get => _mouseLeftButtonDownCommand ??
(_mouseLeftButtonDownCommand = new RelayCommand<MouseButtonEventArgs>((e) =>
{
Debug.WriteLine("LEFT DOWN");
}));
}
private RelayCommand<MouseEventArgs> _mouseMoveCommand;
public RelayCommand<MouseEventArgs> MouseMoveCommand
{
get => _mouseMoveCommand ??
(_mouseMoveCommand = new RelayCommand<MouseEventArgs>((e) =>
{
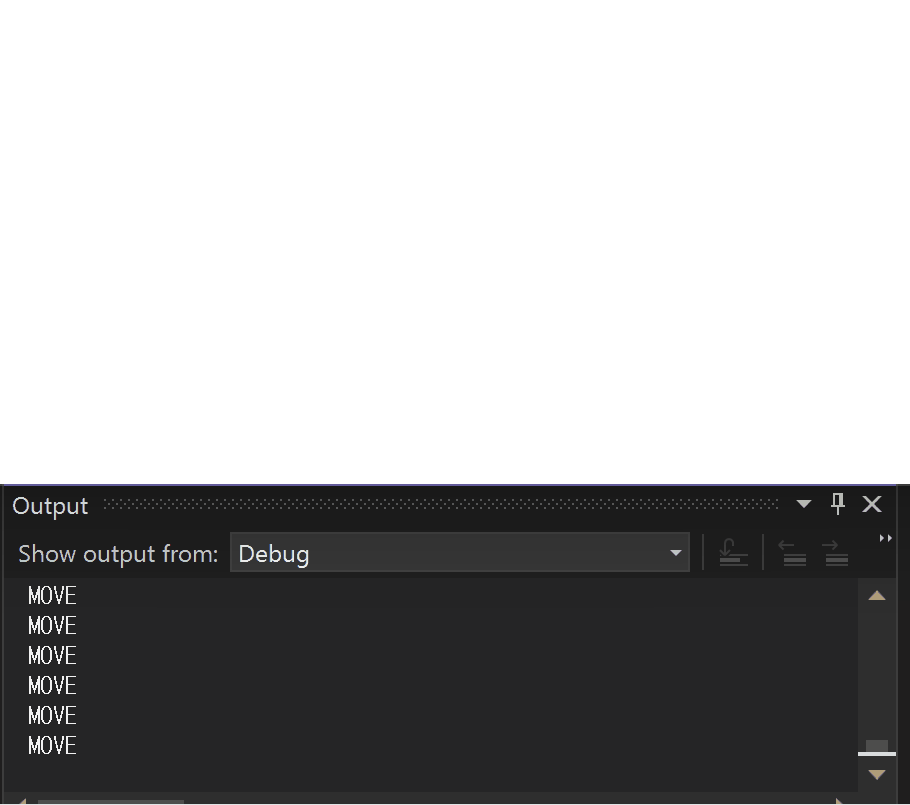
Debug.WriteLine("MOVE");
}));
}
private RelayCommand<MouseButtonEventArgs> _mouseLeftButtonUpCommand;
public RelayCommand<MouseButtonEventArgs> MouseLeftButtonUpCommand
{
get => _mouseLeftButtonUpCommand ??
(_mouseLeftButtonUpCommand = new RelayCommand<MouseButtonEventArgs>((e) =>
{
Debug.WriteLine("UP");
}));
}
}
}마우스를 클릭했을 때, 마우스를 움직일 때, 마우스 버튼을 뗏을 때 발생하는 마우스 이벤트를 커맨드와 연결했습니다.
이어서 Canvas입니다.
<Canvas x:Name="cnvDrawing"
        Background="Transparent">
    <i:Interaction.Triggers>
        <i:EventTrigger EventName="MouseLeftButtonDown">
            <i:InvokeCommandAction Command="{Binding MouseLeftButtonDownCommand}"
                           PassEventArgsToCommand="True"/>
        </i:EventTrigger>
        <i:EventTrigger EventName="MouseMove">
            <i:InvokeCommandAction Command="{Binding MouseMoveCommand}"
                           PassEventArgsToCommand="True"/>
        </i:EventTrigger>
        <i:EventTrigger EventName="MouseLeftButtonUp">
            <i:InvokeCommandAction Command="{Binding MouseLeftButtonUpCommand}"
                           PassEventArgsToCommand="True"/>
        </i:EventTrigger>
    </i:Interaction.Triggers>
</Canvas>
Triggers를 사용하여 각 마우스 이벤트에 ViewModel에서 정의한 커맨드를 바인딩한 모습입니다. i:InvokeCommandAction의 프로퍼티 PassEventArgsToCommand를 True로 설정해 주어야 MouseButtonEventArgs와 MouseEventArgs가 커맨드로 전달됩니다.
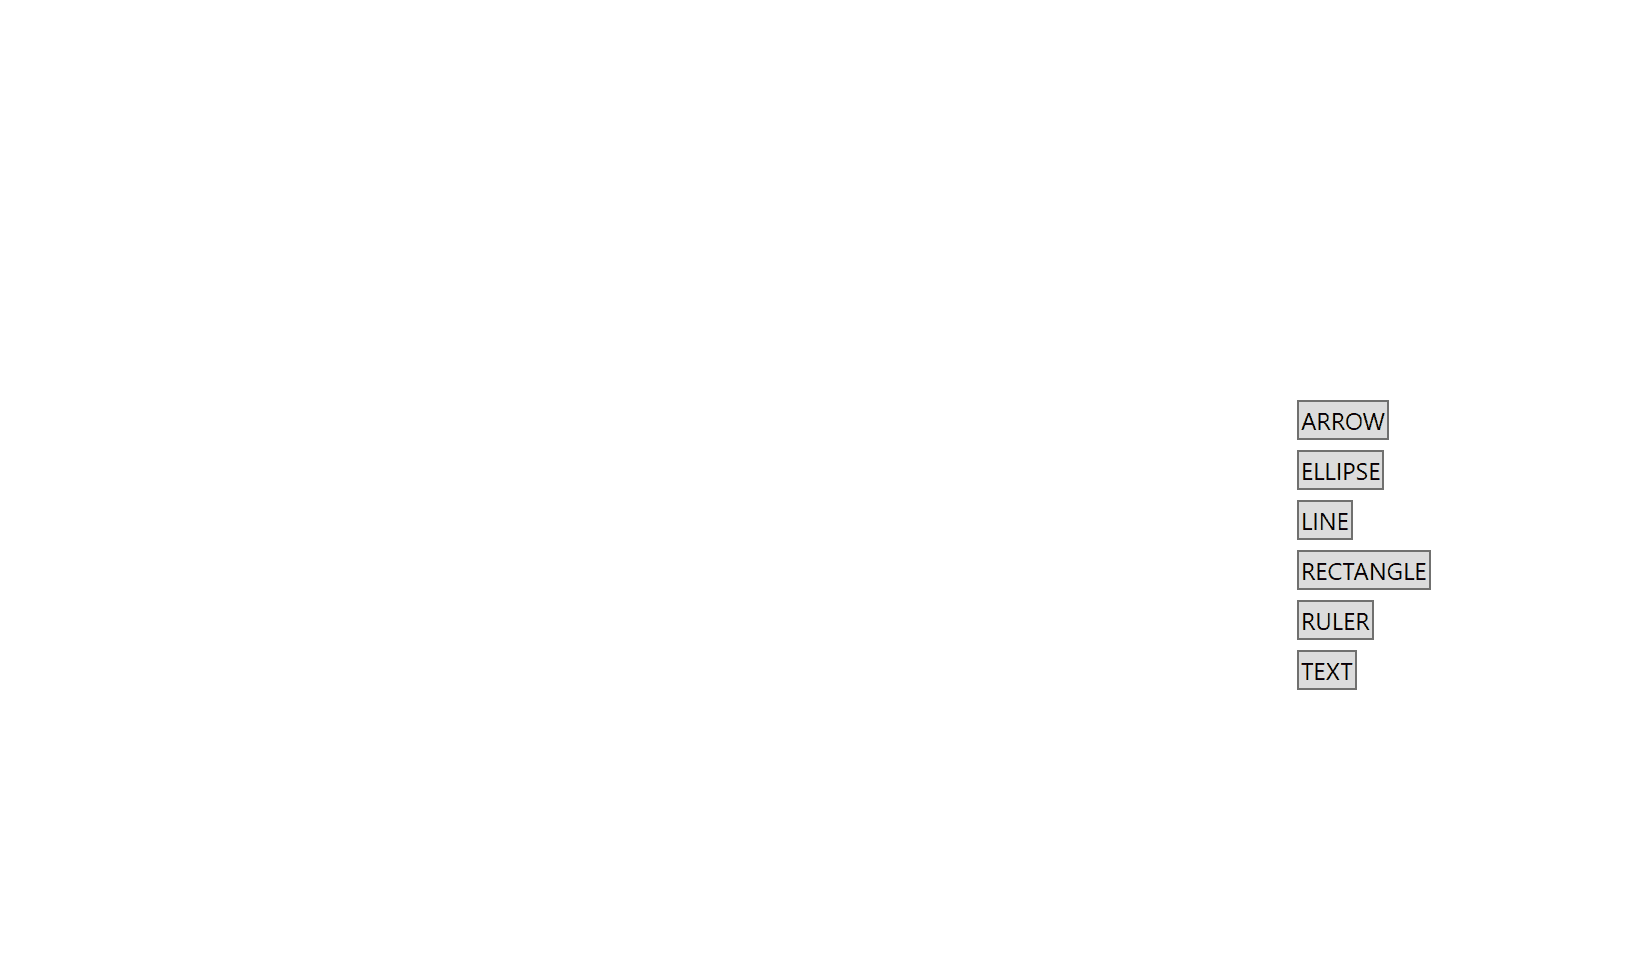
이제 도형 선택을 위한 버튼을 생성하여 Canvas 위에 배치하겠습니다. 도형의 종류는 다음과 같습니다: 화살표, 원, 선, 네모, 자, 텍스트박스.
<Button x:Name="btnArrow"
        Canvas.Left="1200"
        Canvas.Top="500"
        Content="ARROW"
        Command="{Binding ArrowClickCommand}"/>

<Button x:Name="btnEllipse"
        Canvas.Left="1200"
        Canvas.Top="525"
        Content="ELLIPSE"
        Command="{Binding EllipseClickCommand}"/>

<Button x:Name="btnLine"
        Canvas.Left="1200"
        Canvas.Top="550"
        Content="LINE"
        Command="{Binding LineClickCommand}"/>

<Button x:Name="btnRectangle"
        Canvas.Left="1200"
        Canvas.Top="600"
        Content="RECTANGLE"
        Command="{Binding RectangleClickCommand}"/>

<Button x:Name="btnRuler"
        Canvas.Left="1200"
        Canvas.Top="625"
        Content="RULER"
        Command="{Binding RulerClickCommand}"/>

<Button x:Name="btnText"
        Canvas.Left="1200"
        Canvas.Top="650"
        Content="TEXT"
        Command="{Binding TextAnnotationClickCommand}"/>
이어서 ViewModel에 커맨드를 추가하겠습니다.
private RelayCommand _arrowClickCommand;
public RelayCommand ArrowClickCommand => _arrowClickCommand ?? new RelayCommand(() => MessageBox.Show("ARROW"));

private RelayCommand _ellipseClickCommand;
public RelayCommand EllipseClickCommand => _ellipseClickCommand ?? new RelayCommand(() => MessageBox.Show("ELLIPSE"));

private RelayCommand _lineClickCommand;
public RelayCommand LineClickCommand => _lineClickCommand ?? new RelayCommand(() => MessageBox.Show("LINE"));

private RelayCommand _rectangleClickCommand;
public RelayCommand RectangleClickCommand => _rectangleClickCommand ?? new RelayCommand(() => MessageBox.Show("RECTANGLE"));

private RelayCommand _rulerClickCommand;
public RelayCommand RulerClickCommand => _rulerClickCommand ?? new RelayCommand(() => MessageBox.Show("RULER"));

private RelayCommand _textAnnotationClickCommand;
public RelayCommand TextAnnotationClickCommand => _textAnnotationClickCommand ?? new RelayCommand(() => MessageBox.Show("TEXT"));
이제 도형을 그리기 위한 기본적인 설정이 끝났습니다.
'C#,WPF' 카테고리의 다른 글
| [WPF로 도형그리기] 3. 도형 모델의 이해(B) - 화살표, 자 (0) | 2025.03.07 |
|---|---|
| [WPF로 도형그리기] 2. 도형 모델의 이해(A) (0) | 2025.03.04 |
| [C#, WPF] 각도기 클래스 만들고 이를 이용하여 각도기 그리기(3) (0) | 2024.10.15 |
| [C#, WPF] 각도기 클래스 만들고 이를 이용하여 각도기 그리기(2) (0) | 2024.10.14 |
| [C#, WPF] 각도기 클래스 만들고 이를 이용하여 각도기 그리기(1) (0) | 2024.10.14 |